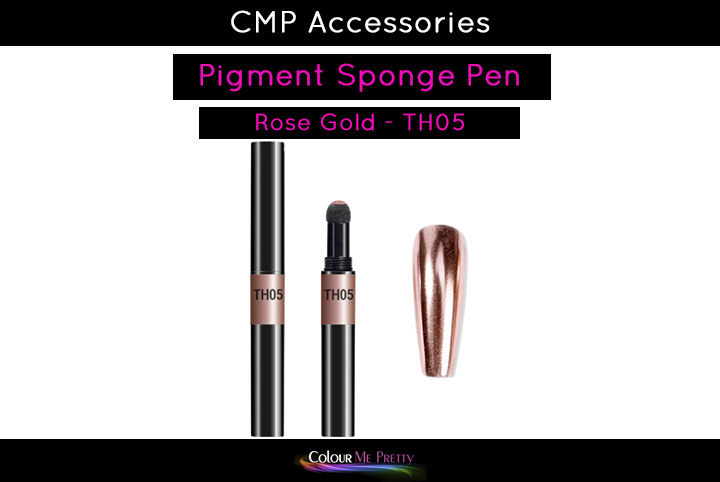
Pigment Sponge Pen Chrome TH05 Rose Gold
$3.85 Inc GST.
Rose Gold Pigment Pen
In stock
Description
Instructions for Use
1. Prep Nails: Shape Free Edge, Push Cuticles Back, Dehydrate Nails using Cleanser & or use Primer.
2. Apply Enhancement and follow instructions for Enhancements or if applying over natural nails or an overlay, then apply 1 coat of Colour Me Pretty Base Coat. Cure
3. Apply your desired Colour coat. Cure. Whatever colour you choose to apply under the pigment will determine the finished look of the pigment so choose your colours carefully. For example an Aurora pigment will not have too much colour depth if applied over white. It will however give you an amazing flicker of colour depending on the lighting around you.
4. Apply your second coat of Colour. Cur
5. Apply your No Wipe Top Coat. We have found that our Colour Me Pretty Ultimate No Wipe Top Coat is great for pigment burnishing. Cure. Once Cured, allow it to sit and “cool” down slightly.
The Colour Me Pretty No Wipe Diamond Gloss Top Coat is a little more temperamental, however it should still work provided you only cure it for 10secs.
6. Use the sponge part of your Pigment Sponge Pen to gently rub the pigment into the cured Top Coat. When you have finished ensure to use a very soft dust brush to dust away any excess pigment.
7. Apply a layer of your Colour Me Pretty Top Coat of your choice to seal in the pigment, ensure you cap the free edge and cover the pigment completely around the side walls but ensure the Top Coat doesn’t come into contact with the skin. Cure.
Tip – It is a great idea to have a seperate Top Coat for art designs like Pigments, Glitters etc. Sometimes you can contaminate your Top Coat brush and not even know about it until the next time you go to use it, by having a seperate Top Coat solely for art designs it means you will always keep your normal Top Coat crystal clear.
Related products
-

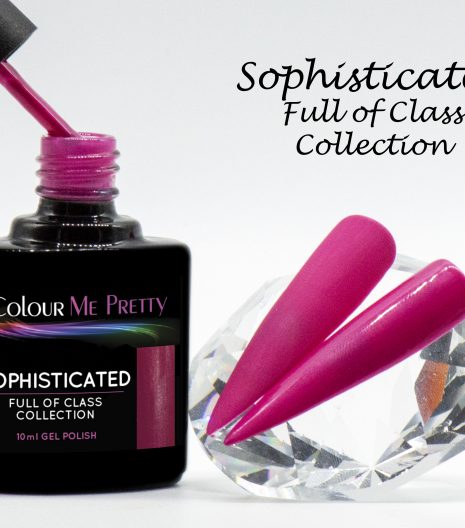
Gel Polish – Sophisticated
$11.00 Inc GST. Add to Cart -
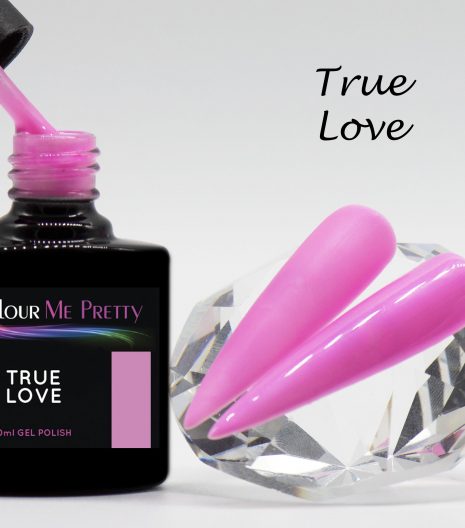
Gel Polish – True Love
$11.00 Inc GST. Add to Cart -
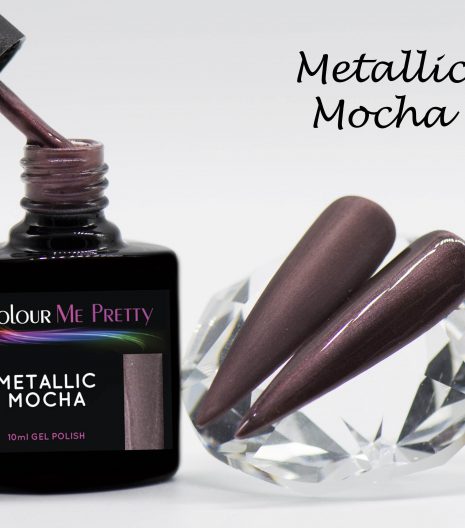
Gel Polish – Metallic Mocha
$11.00 Inc GST. Add to Cart -
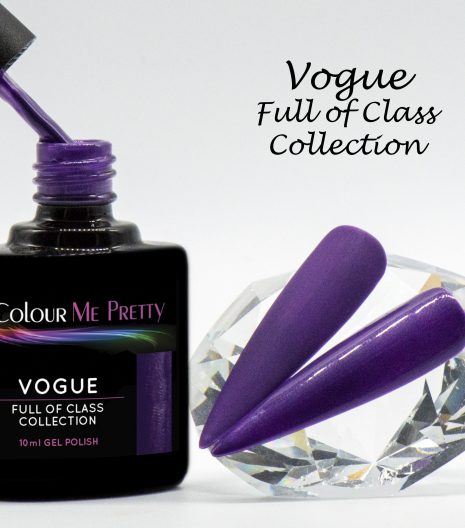
Gel Polish – Vogue
$11.00 Inc GST. Add to Cart