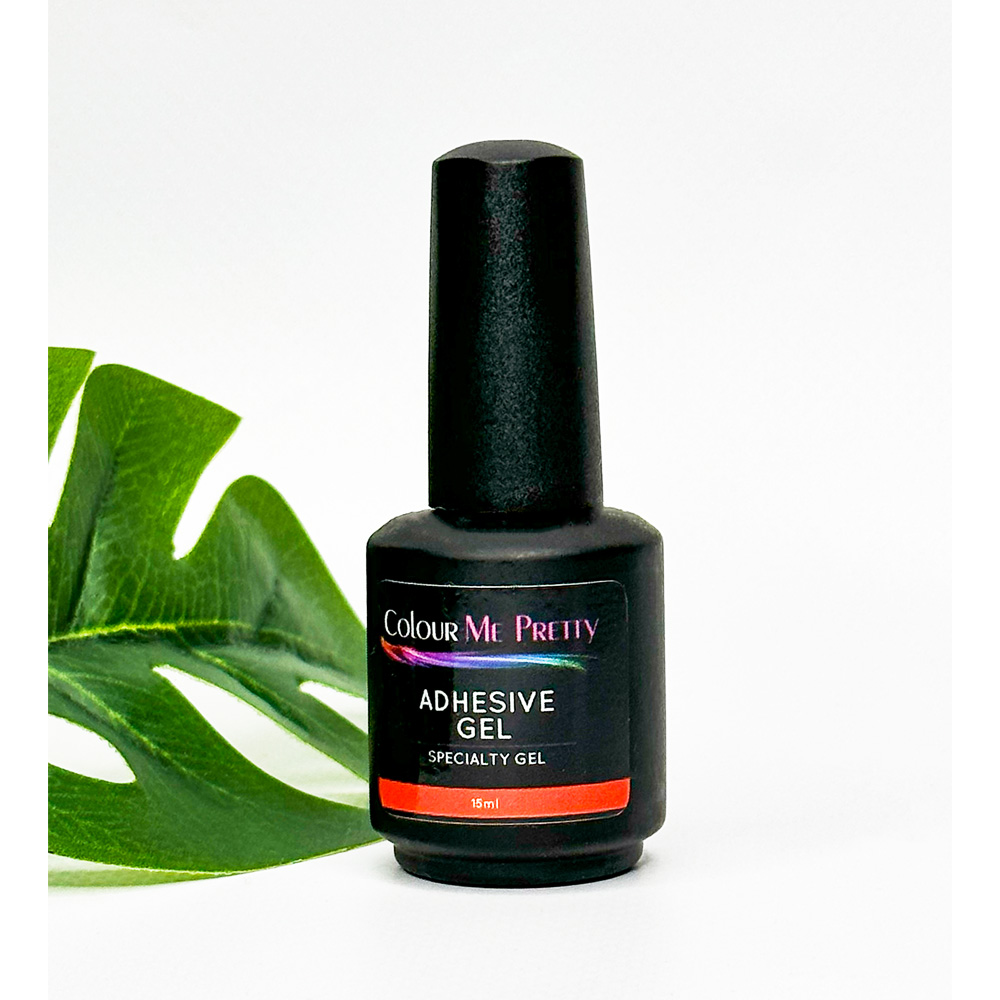
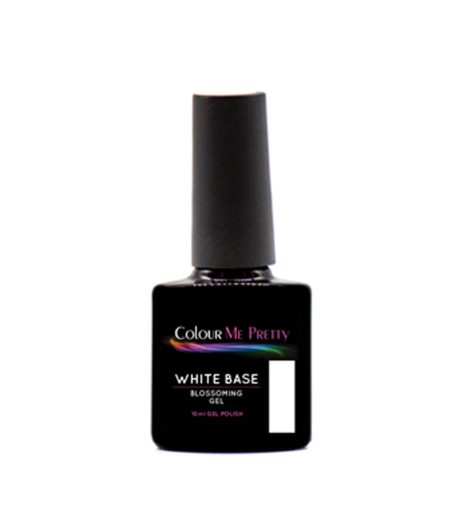
UV/LED – Adhesive Gel 15ml
Original price was: $14.30.$11.00Current price is: $11.00. Inc GST.
Out of stock
Description
Meet the game-changing solution to flawless nail extensions: Adhesive Gel!
Tired of struggling with messy glues and unreliable methods? Say goodbye to frustrations and hello to effortless nail extensions with our innovative Adhesive Gel. It’s time to elevate your nail game to new heights.
Designed with precision and ease in mind, our Adhesive Gel is the ultimate secret weapon for flawless nail tips. This product will revolutionize the way you do nail extensions.
Experience the power of a strong bond and long-lasting results. Our Adhesive Gel is specially formulated to provide exceptional adhesion, using as little product as possible, ensuring that your nail tips stay in place for weeks without lifting or popping off.
With our Adhesive Gel, application becomes a breeze. The brush-on formula allows for precise control, ensuring a clean and even application every time. Simply brush on a thin layer of gel onto the natural nail, apply the tip in place, cure and watch the magic happen. It’s that easy!
Versatility is key, and our Adhesive Gel delivers. Whether you prefer classic French tips, trendy coffin shapes, or unique designs, this gel works seamlessly with various nail tip styles, accommodating your personal style and creativity. Let your imagination run wild as you create jaw-dropping nail extensions that will leave everyone in awe.
Don’t settle for less when it comes to nail extensions. Choose our Adhesive Gel, the trusted solution for professional-quality results right at your fingertips.
Experience the confidence and beauty that comes with flawlessly applied nail extensions.
Please Note: This product’s current formula contains HEMA and TPO.
We are in the process of transitioning our entire range to meet European cosmetic regulations, which means all future formulas will be HEMA-Free and TPO-Free. Once existing stock of this product has sold out, it will be replaced with the updated Euro formula.
In the meantime, this product is being offered at a discounted price to help clear existing stock more quickly. This does not mean the current formula is unsafe — it remains perfectly safe for use when applied according to our instructions.
ADHESIVE GEL & FULL COVER TIPS APPLICATION INSTRUCTIONS
- Size the full cover tips to the client’s nails. If between sizes, use the larger and file the sides to fit. Tips should fit sidewall to sidewall without pressure. CMP tips are pre-etched, but if using non-etched tips, roughen the underside where it meets the nail plate.
- Prep the nails by removing all true cuticle from the nail plate. For upward sloping or very curved nails, trim the natural free edge back.
- Apply Colour Me Pretty Base Coat sparingly to the natural nail and cure.
- Apply a small bead of Colour Me Pretty Adhesive Gel to the underside, cuticle end of the tip. Too much product may flood, too little leaves gaps. Practise to find the right balance.
- Support the client’s finger to allow steady pressure and a free hand for curing. Hold the tip in one hand and a flash cure torch/light in the other.
- Apply the tip at a 45° angle, close to the cuticle, and press downward with constant pressure. Ensure no air bubbles and tip is straight. Flash cure 7–10 seconds.
- Repeat for all fingers, then do a full cure.
- After curing, flip the hands and clean uncured excess with alcohol and a brush. If cured, remove with an e-file.
- File the tips to shape. Shorten with scissors or nail clippers in two side movements—never use tip cutters as they may cause lifting.
- Blend the Tips into the natural nail using a file (hand or e-file).
- Remove dust thoroughly from the nails.
- Apply CMP BOB to the entire nail, filling the gap at the cuticle. Add structure by layering and curing BOB as needed. Keep product off cuticles and skin.
- If needed, remove the inhibition layer with Cleanser Plus or alcohol before filing. Finish file and clean away dust.
- To finish: apply Colour Me Pretty Top Coat and cure if leaving nails natural.
- If adding colour: apply thin coats of CMP Gel Polish, curing each layer, until desired result is achieved.
- Apply a final thin coat of CMP Top Coat and cure.
- Finish with Colour Me Pretty Cuticle Oil massaged into the surrounding skin.
Colour Selection & Accuracy
All colours are available for individual purchase—please refer to each individual listing for details.
While we strive to photograph each shade as accurately as possible, some colours may appear slightly different in person due to lighting or screen variations.
To ensure you are selecting the correct shade:
– Read the detailed colour descriptions in each listing
– View our swatching videos via our You Tube Channel
– Join our Facebook Product Support Group
– Or contact us directly via our social media messaging services (Facebook Page)
| Lamp Type | Wattage | Wavelength | Cure Time per Coat |
|---|---|---|---|
| CMP Galaxy Lamp | 54W | 365–405 nm | 30 seconds |
| CMP Aurora Lamp | 96W | 365–405 nm | 30 seconds |
| CMP Asteria Lamp | 72W | 365–405 nm | 30 seconds |
| UV Lamp | 36W | 200–400 nm | 2 minutes |
| LED Lamp | 12W | 400–450 nm | 1 minute |
GEL POLISH APPLICATION INSTRUCTIONS
- Shake Well
Always shake or stir gel polish thoroughly before use to ensure even pigment distribution. - Nail Preparation
Shape the free edge using a natural nail file. Do not file the surface of the natural nail unless you’re addressing lifting issues. If filing is necessary, use a 240-grit (or finer) file and proceed very lightly to avoid damaging the nail. - Cuticle Work
Gently push back cuticles using a metal cuticle pusher and remove true cuticle from the nail plate. - Cleanse the Nail
Use Cleanser Plus or isopropyl alcohol on a lint-free wipe to thoroughly clean the nail plate of oils and debris. - Dehydrate
Apply Colour Me Pretty Nail Prep to dehydrate the nail, improving product adhesion. - Prime (Optional)
Apply a thin layer of Colour Me Pretty Primer, avoiding cuticles and skin. Allow to air dry for 30 seconds. Primer is optional but may assist with adhesion if lifting occurs. - Apply Base Coat
Apply a thin layer of Colour Me Pretty Base Coat, avoiding contact with skin and cuticles. If product touches skin, remove it immediately with a cuticle pusher or orangewood stick before curing. - Cure Base Coat
Cure under LED lamp for 30 seconds or UV lamp for 1 minute. - Apply BOB (Optional)
If using BOB for added strength, apply a thin coat now. - Cure BOB
Cure each BOB layer for 30 seconds (LED) or 1 minute (UV). Apply 2–3 coats as needed for desired thickness. - Smooth the Surface (if needed)
If BOB has created unevenness, remove the inhibition layer before lightly filing to smooth the surface. - Apply Colour Coat – First Layer
Apply a thin, even coat of colour, avoiding contact with the cuticles and skin. Let it self-level for a few seconds before curing. - Cure Colour Coat
Cure under LED lamp for 1 minute or UV lamp for 2 minutes. - Apply Colour Coat – Second Layer
Apply a second thin coat, taking the same care as above. - Cure Colour Coat
Cure again: 1 minute (LED) or 2 minutes (UV). - Optional Third Coat
Assess coverage. If needed, apply and cure a third coat as above. - Apply Top Coat
Apply a thin layer of Colour Me Pretty Top Coat, ensuring full coverage without touching skin or cuticles. Seal the free edge. - Cure Top Coat
Cure under LED lamp for 1 minute or UV lamp for 2 minutes. - Remove Inhibition Layer (if needed)
If you used a non “No Wipe” Top Coat, cleanse the tacky layer with Cleanser Plus and a lint-free wipe. - Finish with Cuticle Oil
Allow nails to cool for 30 seconds. Apply cuticle oil and massage into nails and surrounding skin.
Enjoy up to two weeks of strong, long-lasting, chip-resistant nails.
GEL POLISH REMOVAL INSTRUCTIONS
There are multiple methods for removing our Gel Polish and Builder Gel products. Your preferred method may vary, but for best results, always begin by filing the top layer of product to break the seal—this significantly speeds up removal. Please note that glitter shades and thicker applications may require more time to remove.
Important:
Avoid forceful scraping to protect the natural nail. Always be gentle during the removal process.
REMOVAL WRAP METHOD
- Gently file the top layer of the product to break the seal.
- Tear the perforated end off the removal wrap.
- Place the pre-soaked wrap over the nail and secure it using the adhesive strip.
- Optional: Apply a warm heat pack over the fingertips to accelerate the process.
- After 10 minutes, check one nail. Use a cuticle pusher or orangewood stick to gently lift the softened product. If resistance is felt, rewrap and soak for an additional 5 minutes as needed.
FOIL WRAP METHOD
- Cut foil into squares large enough to wrap around each fingertip.
- Soak a cotton ball in acetone and place it directly on the nail.
- Wrap the nail and cotton ball tightly with foil to hold in place.
- Optional: Apply a warm heat pack over the fingertips to speed up the process.
- After 10 minutes, check one nail. Gently push off the softened product with a cuticle pusher or orangewood stick. If the product does not lift easily, rewrap and soak in 5-minute intervals until removal is complete
Helpful Tips for Gel Polish Users
Preparation is Key
Proper nail prep is essential for a successful gel manicure. With thorough preparation, you can expect up to two weeks of wear.
Allergy & Sensitivity Warning
Always check the ingredients of each product before use. If you have sensitive skin or allergies, we recommend performing a patch test prior to your first application.
UV Sensitivity
Individuals who are photosensitive may experience skin reactions from UV lamps. LED lamps are generally considered safer in this regard. If you have concerns, consult a healthcare professional before use.
Thin Layers Are Best
Apply all coats thinly to ensure proper curing and prevent wrinkling. You can always apply an additional coat if needed.
Shake Before Use
Shake or stir each bottle for at least 10 seconds before application to ensure even pigment and formula distribution.
Correcting Mistakes
If you’re unhappy with a coat before curing, simply wipe it off and reapply. This will not affect previous cured layers.
Protect Your Manicure
Certain cleaning products can weaken or break down gel polish. Always wear gloves when cleaning or washing dishes.
Nail Health First
Do not apply gel polish over damaged, infected, or wounded nails. If your nails are compromised, consult a healthcare professional before application.
Do Not File After Top Coat
Filing the nail after the top coat has been cured will break the seal and may lead to lifting or peeling.
Storage
Store your Gel Polish bottles upright, away from direct sunlight and heat to keep the product in perfect condition.
Curing
Ensure you are using the correct lamp and curing times recommended for your product to avoid under-curing.
General Nail Care
Treat your nails with care—they’re jewels, not tools. Avoid using them to open or pry objects to prolong your manicure.
Avoid soaking your nails in hot water (like baths or spas) immediately after application, as it can affect adhesion.
Need Help?
For additional support, please reach out to Melissa Howell via:
Facebook Page: Colour Me Pretty
Facebook Group: Colour Me Pretty Support
Email: colourmeprettynails@hotmail.com
Disclaimer:
Proper education and safe use of nail products and tools are your responsibility. Incorrect or improper use can result in damage or infection. Never perform services that cause pain, bleeding, or discomfort. Colour Me Pretty Nails & Accessories, Melissa Howell, and all associates are not liable for misuse, overuse, or misapplication of any products referenced in these guidelines.
1 minute

