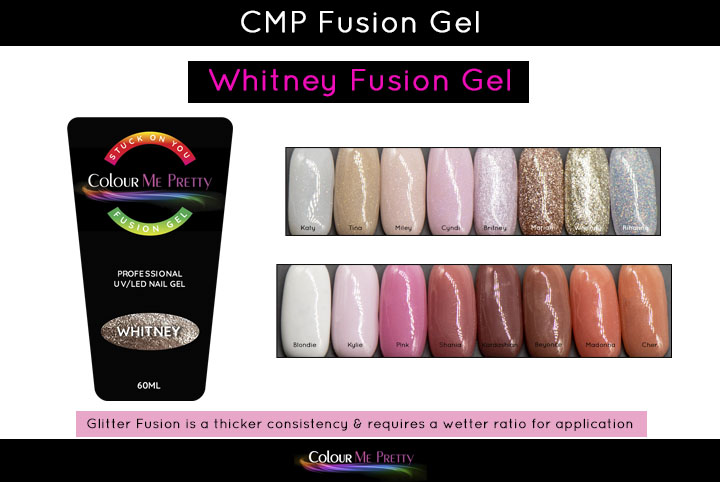


Fusion Gel – Whitney
$44.00 Inc GST.
In stock
Description
Now available in 17 colours
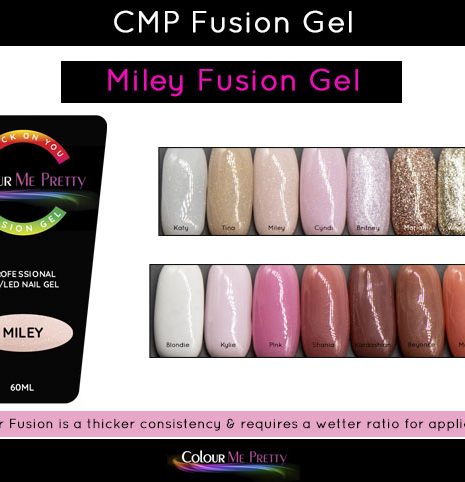
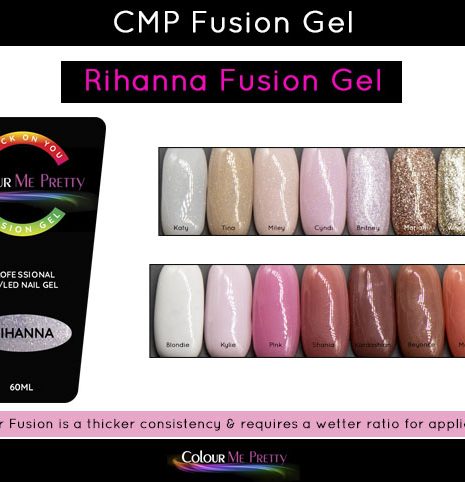
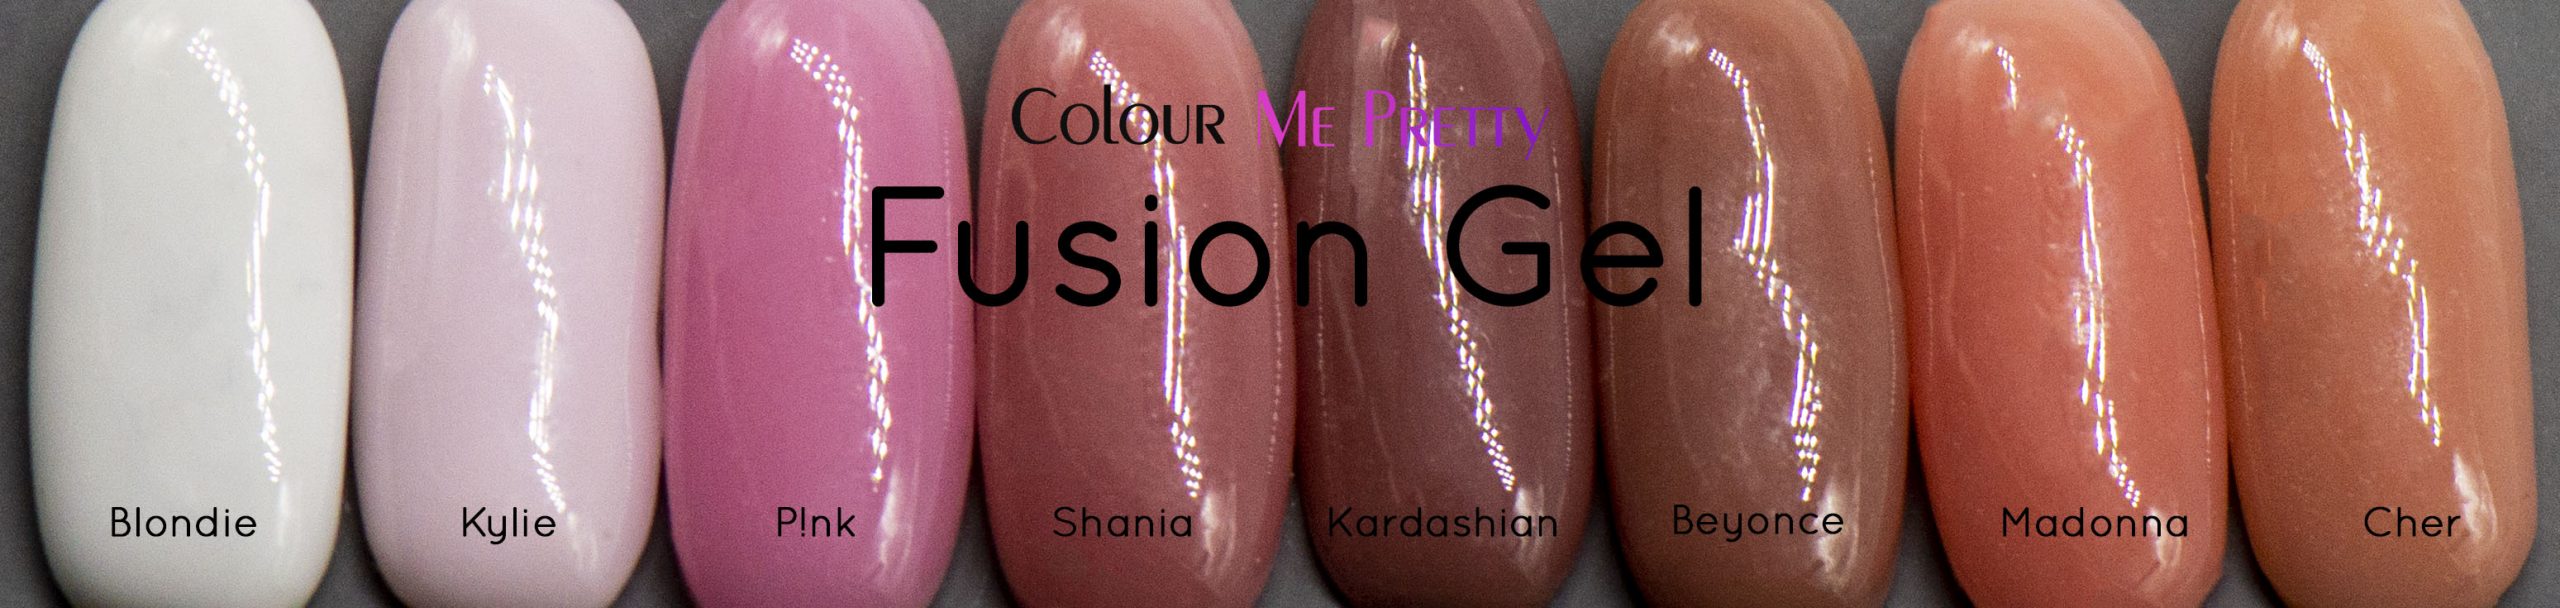
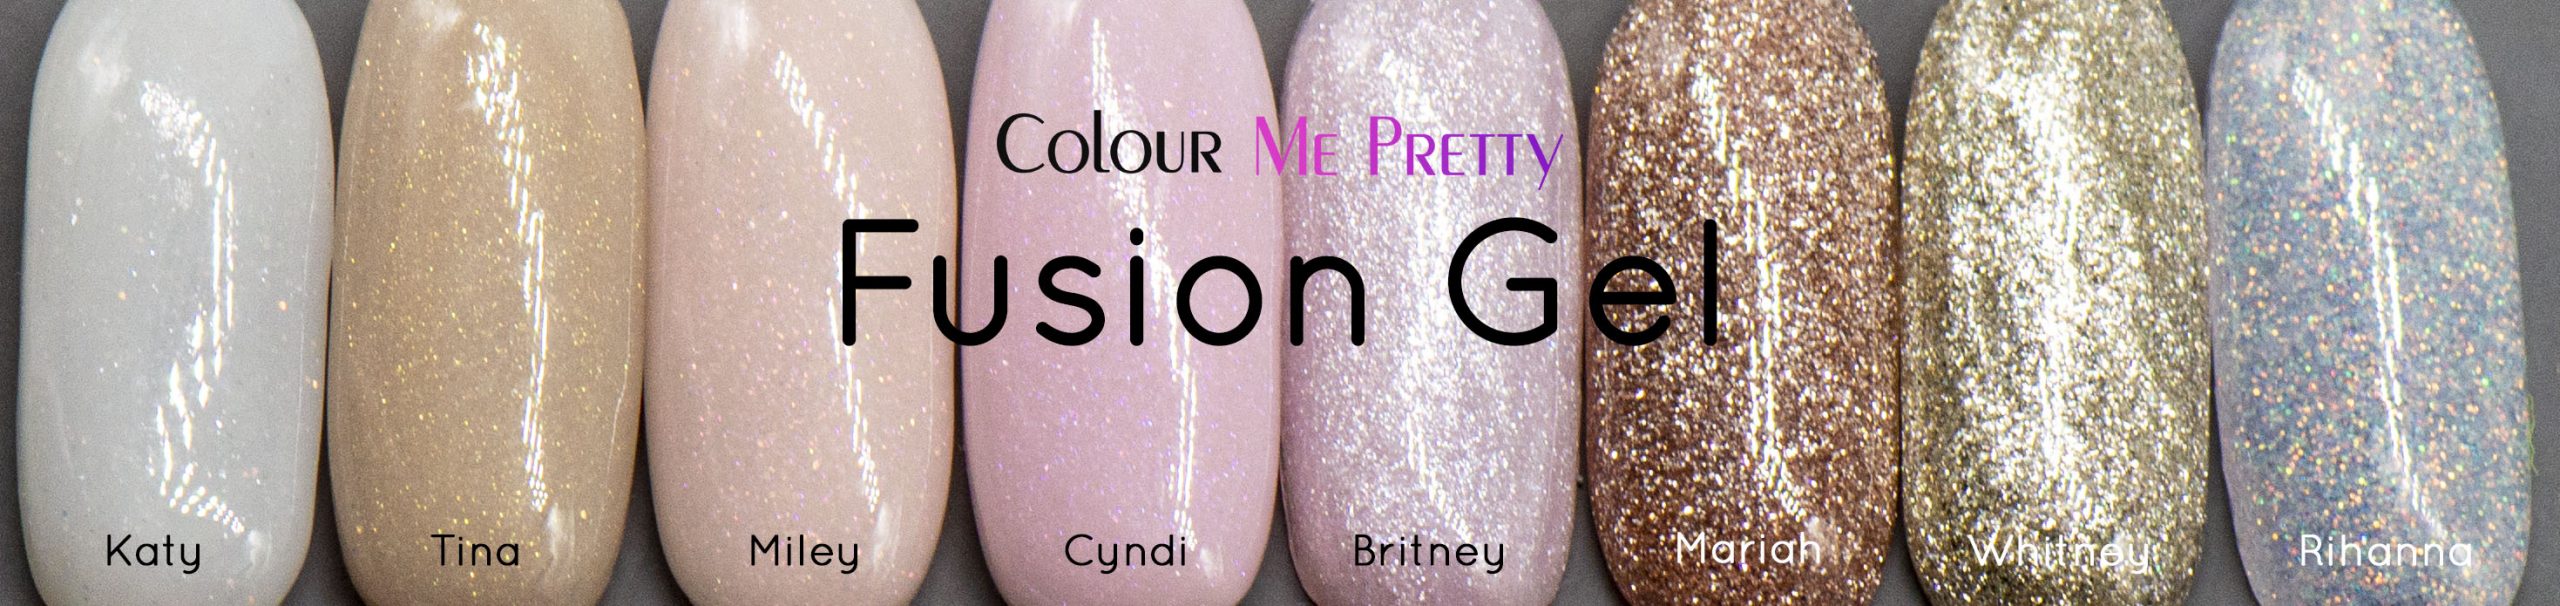
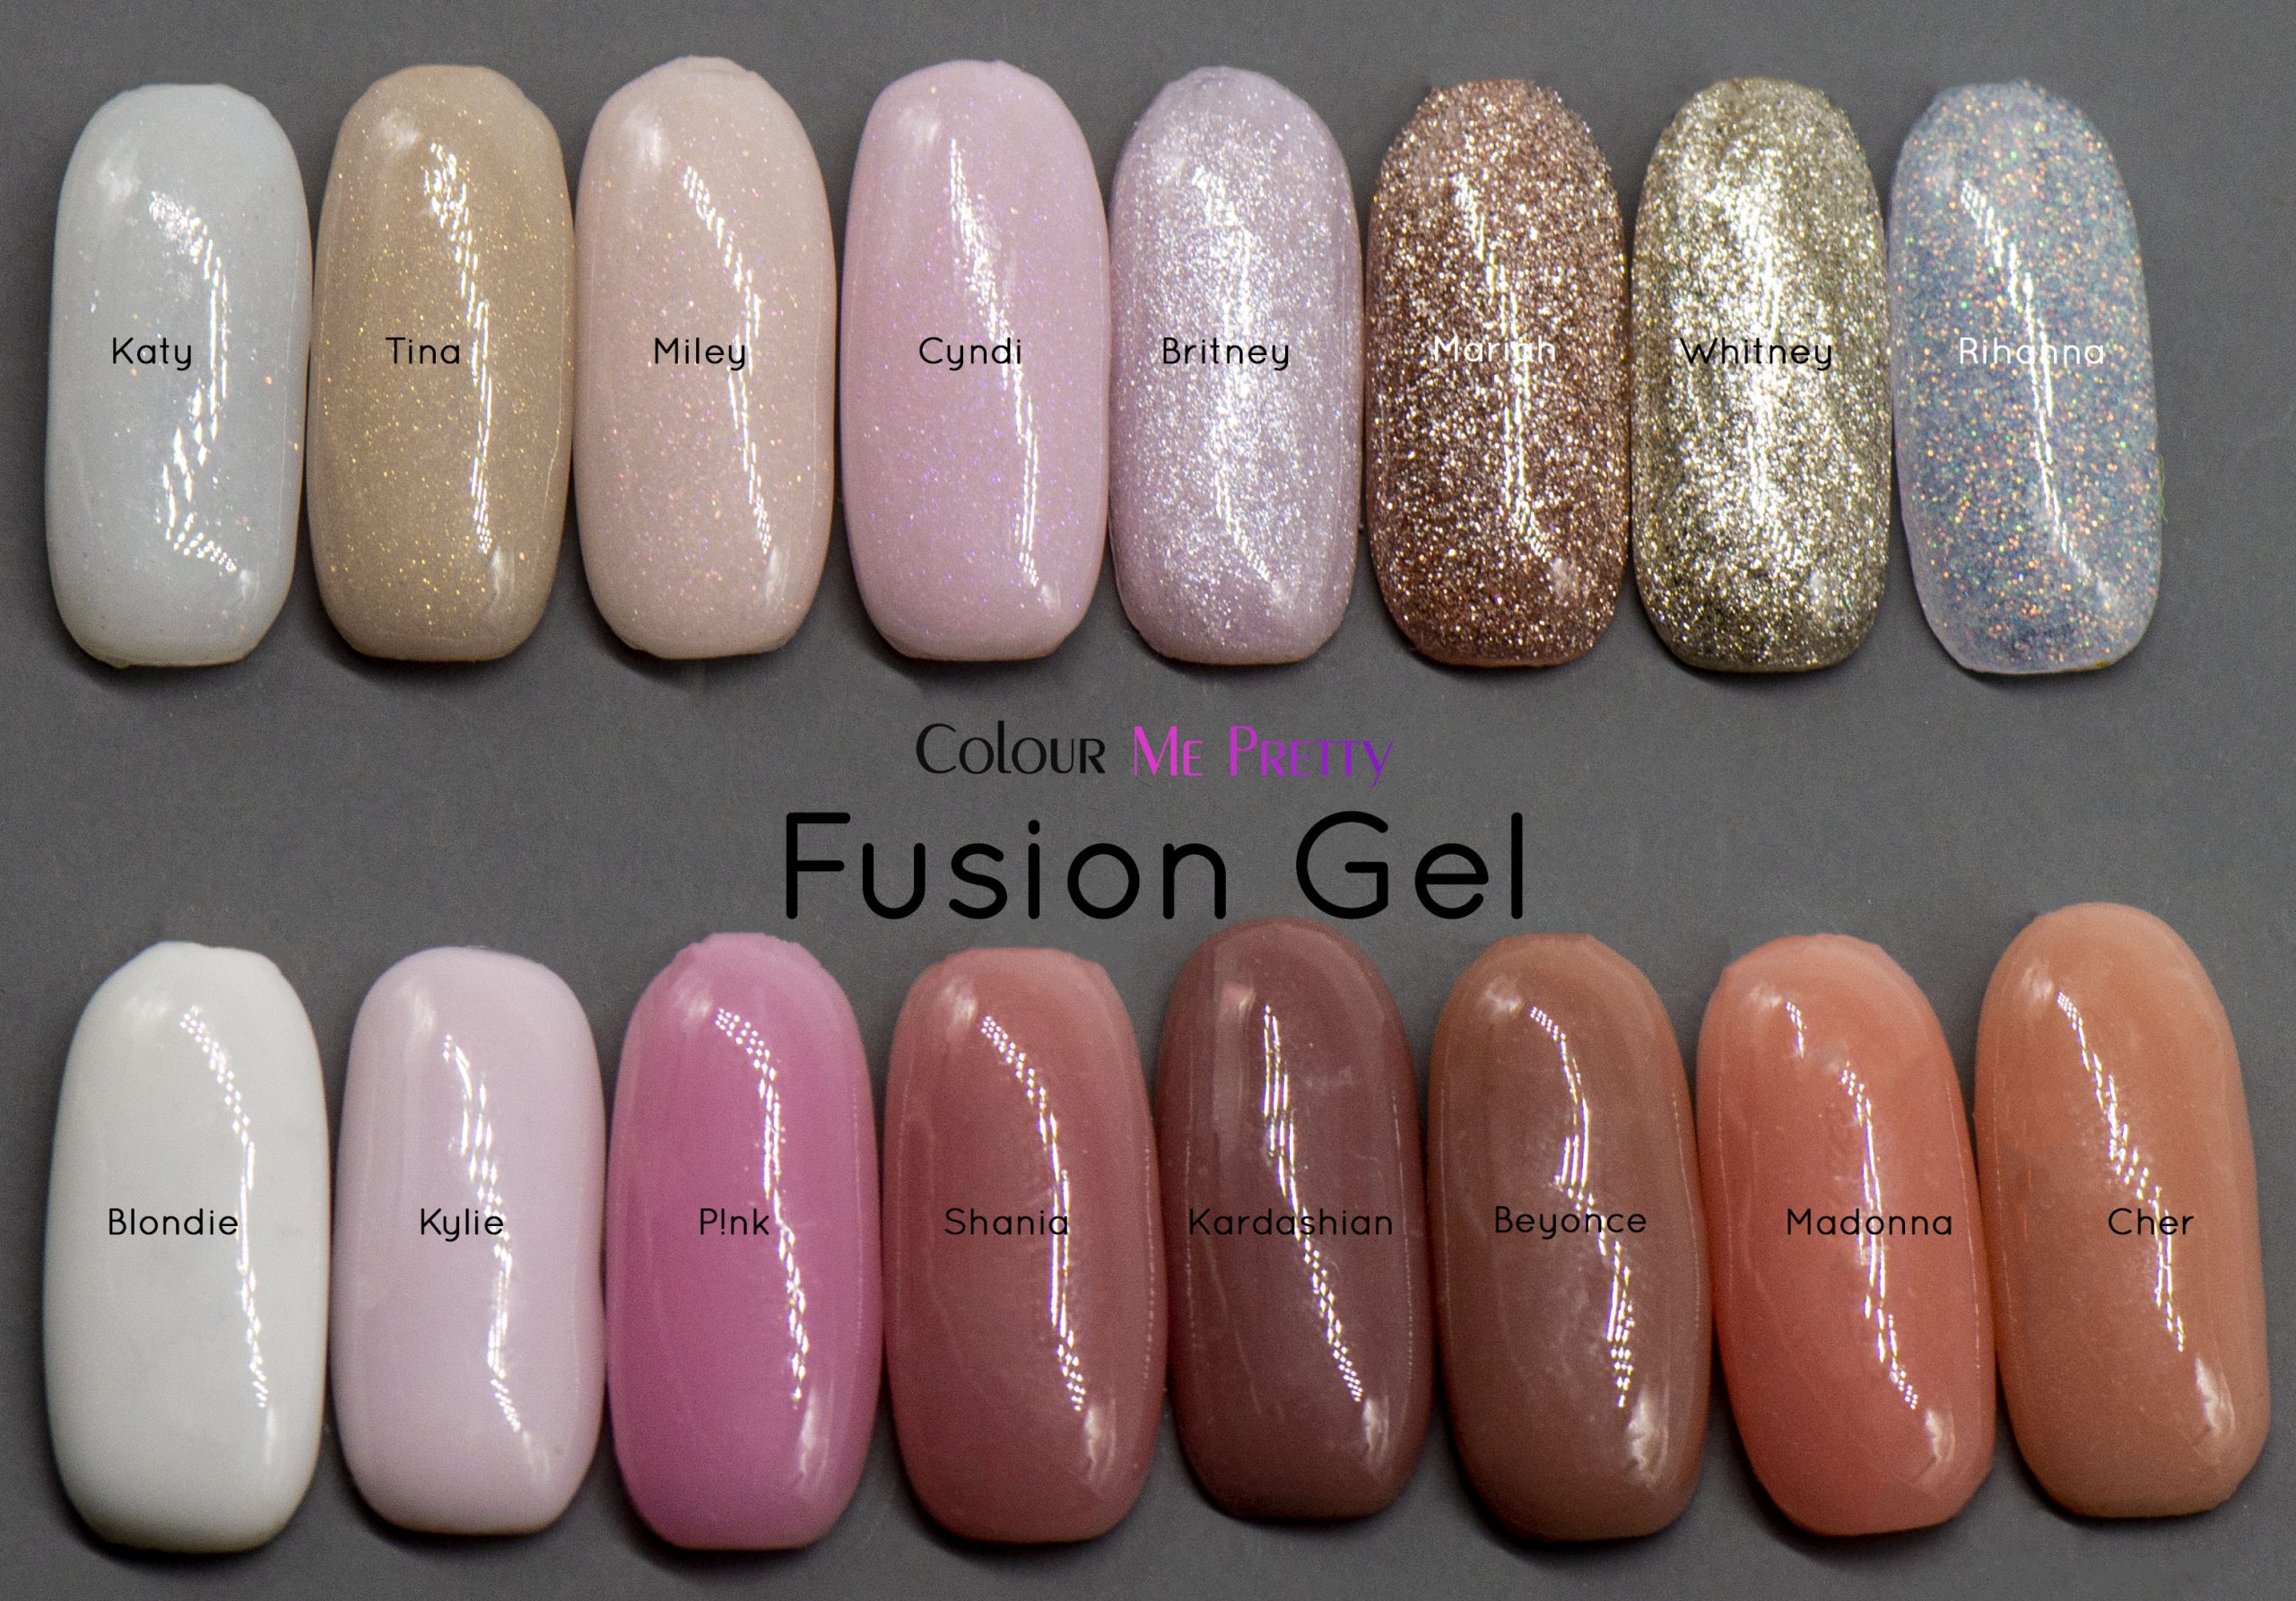
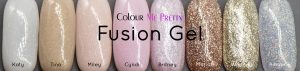
Clear, Kardashian, Blondie, Beyonce, Cher, Madonna, P!nk, Shania, Kylie, Katy, Tina, Miley, Cyndi, Britney, Mariah, Whitney & Rihanna.
PLEASE NOTE – Our New Glitter Fusions require a much wetter ratio for application. They can be difficult to work with and we advise that you should be experienced with Fusion before investing in them. Whilst the Glitters are gorgeous colours they are thick and require more solution to mould the product into place. We advise you view our Live Video in the Facebook Group for any trouble shooting.
Use it as an overlay on Natural Nails to help provide extra strength or use it to create enhancements, ensuring you build the nail correctly.
When using Fusion Gel as an enhancement it is recommended that you have undergone training via a Nail Technician Course, which is why our Fusion Gel is only available to qualified Nail Technicians. It is very important to understand how to build a nail to ensure there is no damage to natural nails.
APPLICATION
1. Prep Nails: Shape the free edge, push cuticles back, remove dust from nails using Cleanser Plus. Please note the use of Nail Prep & Primer is a personal choice and they don’t come as part of the kit. Dehydrate the nails using Colour Me Pretty Nail Prep and apply Colour Me Pretty Primer.
2. Apply 1 coat of Colour Me Pretty Base Coat. Cure.
3. Squeeze the amount of Fusion Gel you need from the tube and using your Fusion cutting tool slice the Fusion gel from the tube. Roll the Fusion gel onto the nail. If you find you have squeezed out too much Fusion Gel, simply use your slicer tool to slice and remove any excess from the nail and store it in a container/jar (make sure the container is stored free from UV Rays) for use in the future. The next step involves Cleanser Plus /Alcohol being used to manipulate the Fusion Gel into shape. You need to ensure you don’t have too much Cleanser Plus on your brush as you don’t want to flood the product and have it become mushy. Use a Wipe/Dental Mat to soak up excess Cleanser Plus, much like you do with Monomer in an Acrylic application.
4. Pour a small amount of Cleanser Plus/Alcohol into a Dappen Dish. Cleanser Plus/Alcohol will evaporate so be sure to only pour what you will use. Moisten your Fusion Gel Brush by dipping it in the Cleanser Plus and begin shaping the Fusion Gel on the nail. Shape the nail in patting motions. When you feel the product is starting to get sticky, moisten the brush lightly again in the Cleanser Plus. Remember to pay special attention to side walls and cuticle areas to save filing time. If you are creating an enhancement ensure you create an apex
5. Once you are satisfied with the shape and coverage, Cure for 30 seconds in our CMP Galaxy Lamp. (Cure times are below for other lamps)
6. Remove inhibition/tacky layer and finish file the nail. If desired you can buff the nail to a high shine or just leave a smooth finish if you are adding more product to the nails.
7. Remove all dust from the nails with Cleanser Plus. If you are applying gel polish go to step 9, if not go to step 8.
8. If you are not applying any gel polish colour then simply apply your CMP Top Coat to the nails and cure for 30secs. Apply your CMP cuticle oil.
9. If you are applying Gel Polish over the Fusion Gel, then simply apply your colour. Cure. Repeat colour application as desired, curing each coat. Apply CMP Top Coat to the nails and cure for 30secs. Apply your CMP Cuticle Oil.
REMOVAL
We recommend filing off the Fusion Gel. Filing is a more time efficient process of removing. Fusion Gel will soak off in Acetone however this is a much longer process than filing below, the thicker the product the longer it will take to soak off.
Complete Removal by Filing
1. File off majority of product from the nails using a 100 or 150 grit file or using an eFile. Don’t file the natural nail.
2. Use a 180 grit file to gently remove product closer to the natural nail.
3. Use a 240 grit file or buffer to gently remove the last of any product and or blend the remaining product into the natural nail.
4. Use our High Shine buffer to bring the natural nail to a high shine.
Complete Removal by Filing & Soaking
1. File off majority of product from the nails using a 100 or 150 grit file or using an eFile. Don’t file the natural nail.
2. Soak the remaining product in Acetone using hot water or a heat pack to speed up the process. After 5 minutes use your Fusion tool to gently scratch at the product on the nail. Repeat this process until all product has been removed from the nails. Ensure you maintain the integrity of the natural nail and use caution, applying less pressure as you get closer to it.
3. Use our High Shine buffer to bring the natural nail to a high shine.
We have done our absolute best to photograph these colours as true to life as we can however some colours can be a little deceiving and tricky. Check the description of each colour to verify the colour, or refer to our swatching videos on our gallery website, or refer to our Facebook Product support group to help verify colours or contact us directly at our Social Media Message Services.
https://www.cmpnailgallery.com/collection-swatching/
For assistance on how to use our products refer to our Product Demo videos on our gallery website.
https://www.cmpnailgallery.com/videos/cmp-product-demos/
Please Note –
Ensure it is stored and used away from any form of UV light, including Overhead Lamps, Curing Lamps, Windows etc
Ensure you do not let product come into contact with skin.
Lamp Cure Times
CMP Galaxy Lamp – 54 Watt Wavelength 365nm – 405nm Cure each coat for 30 seconds
CMP Aurora Lamp – 96 Watt Wavelength 365nm – 405nm Cure each coat for 30 seconds
UV -36 Watt Wavelength 200nm – 400nm Cure each coat for 2 minutes
LED – 12 Watt Wavelength 400nm – 450nm Cure each coat for 1 minute
Related products
-

Fusion Gel – Miley
$44.00 Inc GST. Add to Cart -
Sale!
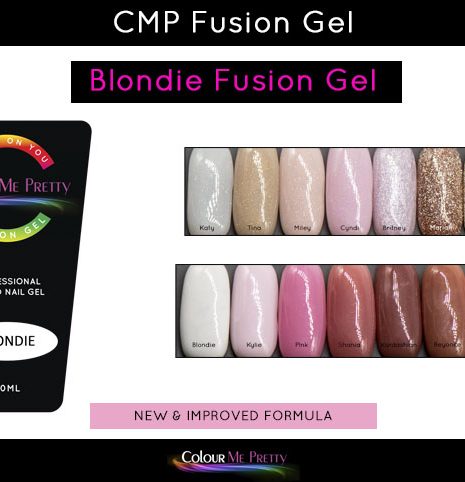
Fusion Gel – Blondie – New & Improved Formula
Original price was: $44.00.$33.00Current price is: $33.00. Inc GST. Add to Cart -
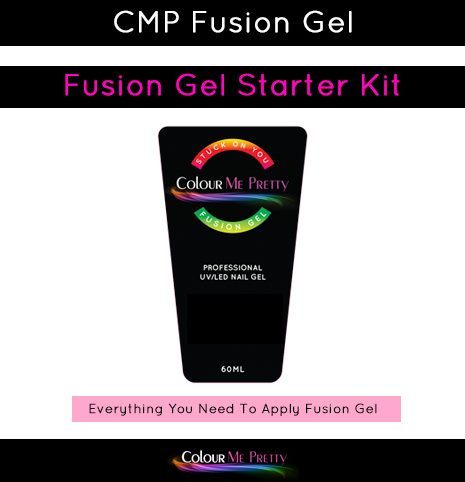
Fusion Gel Starter Kit – Your Choice of Colour
$93.50 Inc GST. Add to Cart -
Fusion Gel – Rihanna
$44.00 Inc GST. Add to Cart